
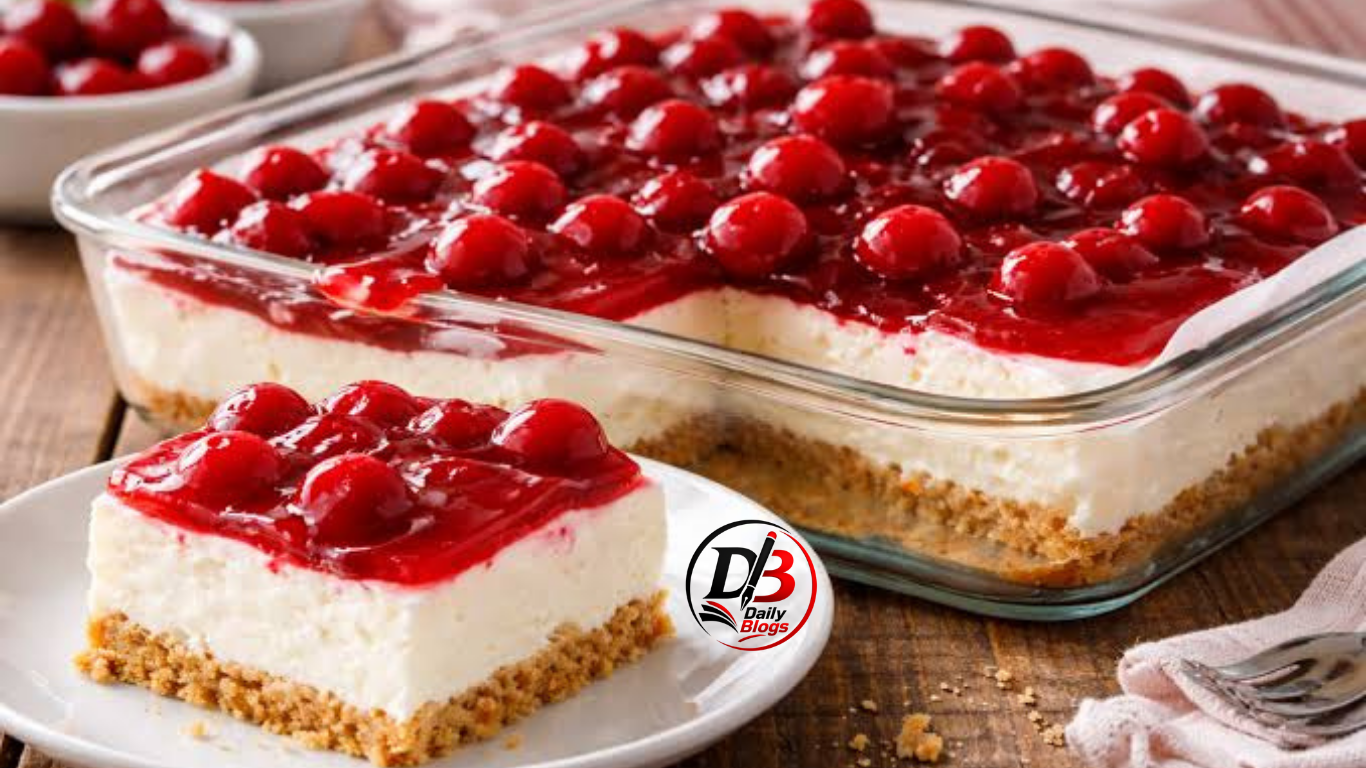
There’s something rather comforting about a dessert that asks so little of you. No oven, no complicated technique, no waiting around for hours while something bakes to perfection. The cherries in the snow recipe is exactly that sort of dish — a nostalgic, no-bake treat that’s been quietly popular at family gatherings, church socials and potlucks for decades, and one that’s now finding a new audience online.
If you’ve never made it before, the name alone tells you most of what you need to know. Bright red cherry pie filling nestled against a cloud of creamy white topping, spooned into a glass dish or individual cups so the colours stand out. It looks festive, tastes indulgent, and takes barely fifteen minutes of actual effort. That combination is precisely why this cherries in the snow recipe has stuck around for so long, even as food trends have come and gone.
In this article, we’ll walk through where the dish likely came from, what goes into it, how to make it properly, and a few sensible variations for anyone wanting to put their own spin on it.
Where Does the Cherries in the Snow Recipe Come From?
Like many mid-century American desserts, the exact origin of cherries in the snow is difficult to pin down with certainty. Recipes of this style — built around tinned pie filling, cream cheese, sweetened condensed milk and whipped topping — became widespread in the United States from the 1950s onwards, largely thanks to the growing availability of convenience ingredients and the rise of community cookbooks.
Dishes like this were designed to be practical. They needed to feed a crowd, require minimal equipment, and hold up well on a buffet table for a few hours without spoiling or wilting. Cherries in the snow ticks every one of those boxes, which likely explains why versions of it appear in so many church, school and family recipe collections without a single named creator.
It’s worth noting that “Cherries in the Snow” is also the name of a well-known red lipstick shade first launched by Revlon in the 1950s. The two share nothing beyond a name and a colour palette, and there’s no reliable evidence connecting the dessert’s naming to the cosmetic product. If anything, both names simply describe the same visual idea rather independently: vivid red against pure white.

What You Need for a Classic Cherries in the Snow Recipe
Part of the appeal here is how few ingredients are involved, and how easy they are to find in any supermarket.
For the base:
- 200g digestive biscuits or graham crackers, crushed
- 75g butter, melted
For the filling:
- 250g full-fat cream cheese, softened
- 200g icing sugar
- 1 tsp vanilla extract
- 300ml double cream, whipped to soft peaks (or 400g ready-made whipped topping)
To finish:
- 1 tin (about 400g) cherry pie filling
That’s the whole list. No specialist equipment, nothing you’ll need to order in advance, and nothing that requires precise timing.
How to Make Cherries in the Snow
The method is straightforward enough for a beginner, yet reliable enough that experienced bakers keep coming back to it for easy entertaining.
Step 1: Prepare the base.
Mix the crushed biscuits with the melted butter until every crumb is coated. Press this firmly into the bottom of a serving dish, a trifle bowl, or individual glasses if you’d prefer single portions. Chill in the fridge for at least 20 minutes so it sets slightly.
Step 2: Make the cream cheese layer.
Beat the softened cream cheese with the icing sugar and vanilla extract until completely smooth, with no lumps remaining. Gently fold in the whipped cream (or whipped topping) until the mixture is light and airy rather than stiff.
Step 3: Assemble.
Spread or pipe the cream cheese mixture evenly over the chilled biscuit base. Smooth the top with a spatula so you have a clean, even surface — this is what makes the “snow” effect work visually.
Step 4: Add the cherries.
Spoon the cherry pie filling over the top, either covering the whole surface or leaving a decorative border of white showing through, depending on the presentation you’re after.
Step 5: Chill and serve.
Refrigerate for at least two hours, ideally longer, before serving. This gives the layers time to firm up and makes for much cleaner slices.
Variations Worth Trying
One of the reasons the cherries in the snow recipe has endured is how easily it adapts. A few sensible variations include:
- Mixed berry version: Swap the cherry pie filling for a mixed berry compote or blueberry pie filling for a different flavour profile.
- Lighter version: Use reduced-fat cream cheese and a light whipped topping to cut down on richness without losing the structure.
- Individual servings: Layer the ingredients in small glasses or jars for a neater, more portion-controlled presentation — particularly handy for parties.
- Boozy twist: A small splash of kirsch or amaretto stirred into the cherry filling adds a more grown-up edge, well suited to dinner parties rather than family gatherings.
- Gluten-free base: Use gluten-free digestive biscuits or a nut-based base for those avoiding gluten.
None of these changes the fundamental character of the dish — they simply allow it to be tailored to different occasions or dietary needs.
Tips for Getting It Right
A few small details make a noticeable difference to the final result.
Make sure the cream cheese is properly softened before mixing; cold cream cheese leaves lumps that are very difficult to smooth out later. Whip the cream only to soft peaks rather than stiff peaks, as over-whipped cream can make the layer feel heavy rather than light once folded through the cream cheese mixture.
Chilling time matters more than most people expect. A dessert that goes straight from assembly to the table tends to be soft and difficult to serve neatly, whereas one that’s had a few hours in the fridge holds its shape much better when cut or scooped.
Finally, resist the temptation to add the cherry layer too early if you’re transporting the dish anywhere. Adding it just before serving, or shortly before you leave, helps keep the colours crisp and prevents any bleeding into the white layer beneath.
Serving Suggestions
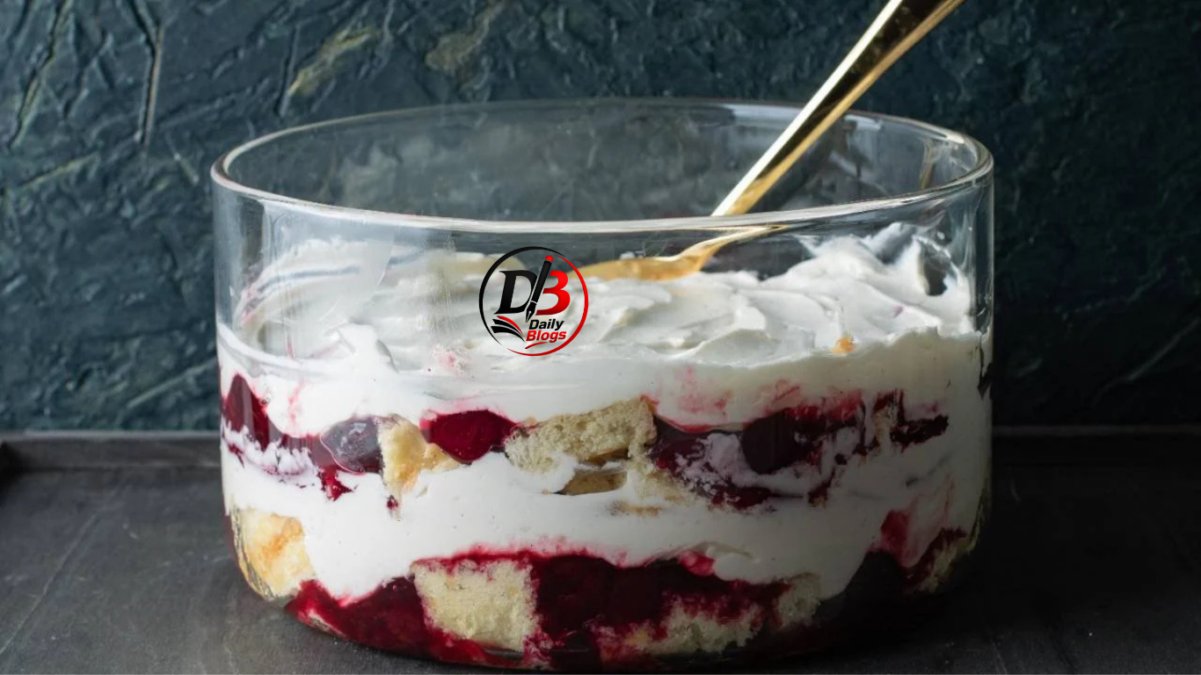
Cherries in the snow works well as a make-ahead dessert for dinner parties, a contribution to a potluck or buffet table, or a simple treat for a weekend gathering. It pairs nicely with a light dessert wine or a strong coffee, and because it’s served chilled, it’s particularly well suited to warmer months when a heavier baked dessert might feel like too much.
Because of its bright, festive appearance, it also turns up regularly around Christmas and other winter celebrations, where the red-and-white colour scheme feels especially fitting — which may be part of why the “snow” in the name has stuck so firmly in people’s minds.
FAQs
Can I make cherries in the snow ahead of time?
Yes. It’s actually better made a few hours or even a day in advance, as this gives the layers time to set properly.
Can I use fresh cherries instead of pie filling?
You can, though you’ll need to cook them down with a little sugar and cornflour first to get a similar thickened, glossy consistency. Fresh cherries alone won’t hold their shape or sit as neatly on top.
How long does it keep in the fridge?
Covered and refrigerated, it will generally keep well for two to three days, though the biscuit base will gradually soften over time.
Is this the same as cherry cheesecake?
Not quite. Cherries in the snow is typically lighter and less dense than a traditional baked or no-bake cheesecake, with a thinner biscuit base and a fluffier cream layer.
Conclusion
There’s a reason simple, no-fuss desserts like this one tend to outlast more elaborate trends. The cherries in the snow recipe doesn’t ask much of the person making it, yet it consistently delivers something that looks impressive and tastes exactly as comforting as it appears. Whether you’re making it for a family dinner, a festive gathering, or simply because you fancy something sweet without turning the oven on, it’s a dependable dish worth having in your repertoire.